
Dining Room Wainscoting: The Design + What We Used

Week 3 of the ORC has come to an end and our dining room wainscoting is complete! I have to say it turned out even better than I was expecting. The traditional millwork looks right at home in our historic colonial house and really adds the character the space was lacking — which just proves that when in doubt, add trim!
For this project we hired out carpenters to help us with the labor but I’m going to walk you through our process and link the trim we used to create the look.
We started by drawing out the boxes around the room in pencil so we could space them out correctly and get a better idea of what the final product would look like. I highly recommend when working with carpenters (or any kind of craftsman) to be very thorough with your vision. Use pictures, draw it out, get on your hands and knees and keep tweaking things until you love it! It took us a couple tries to get it right but it was totally worth it in the end.
We did not use any particular method to determine the height — I just chose a height that felt good in the room. You can always use the 1/3 rule to help determine how high you want your wainscoting to be. Measure the entire height of the wall and then have your wainscoting come up 1/3 of it!
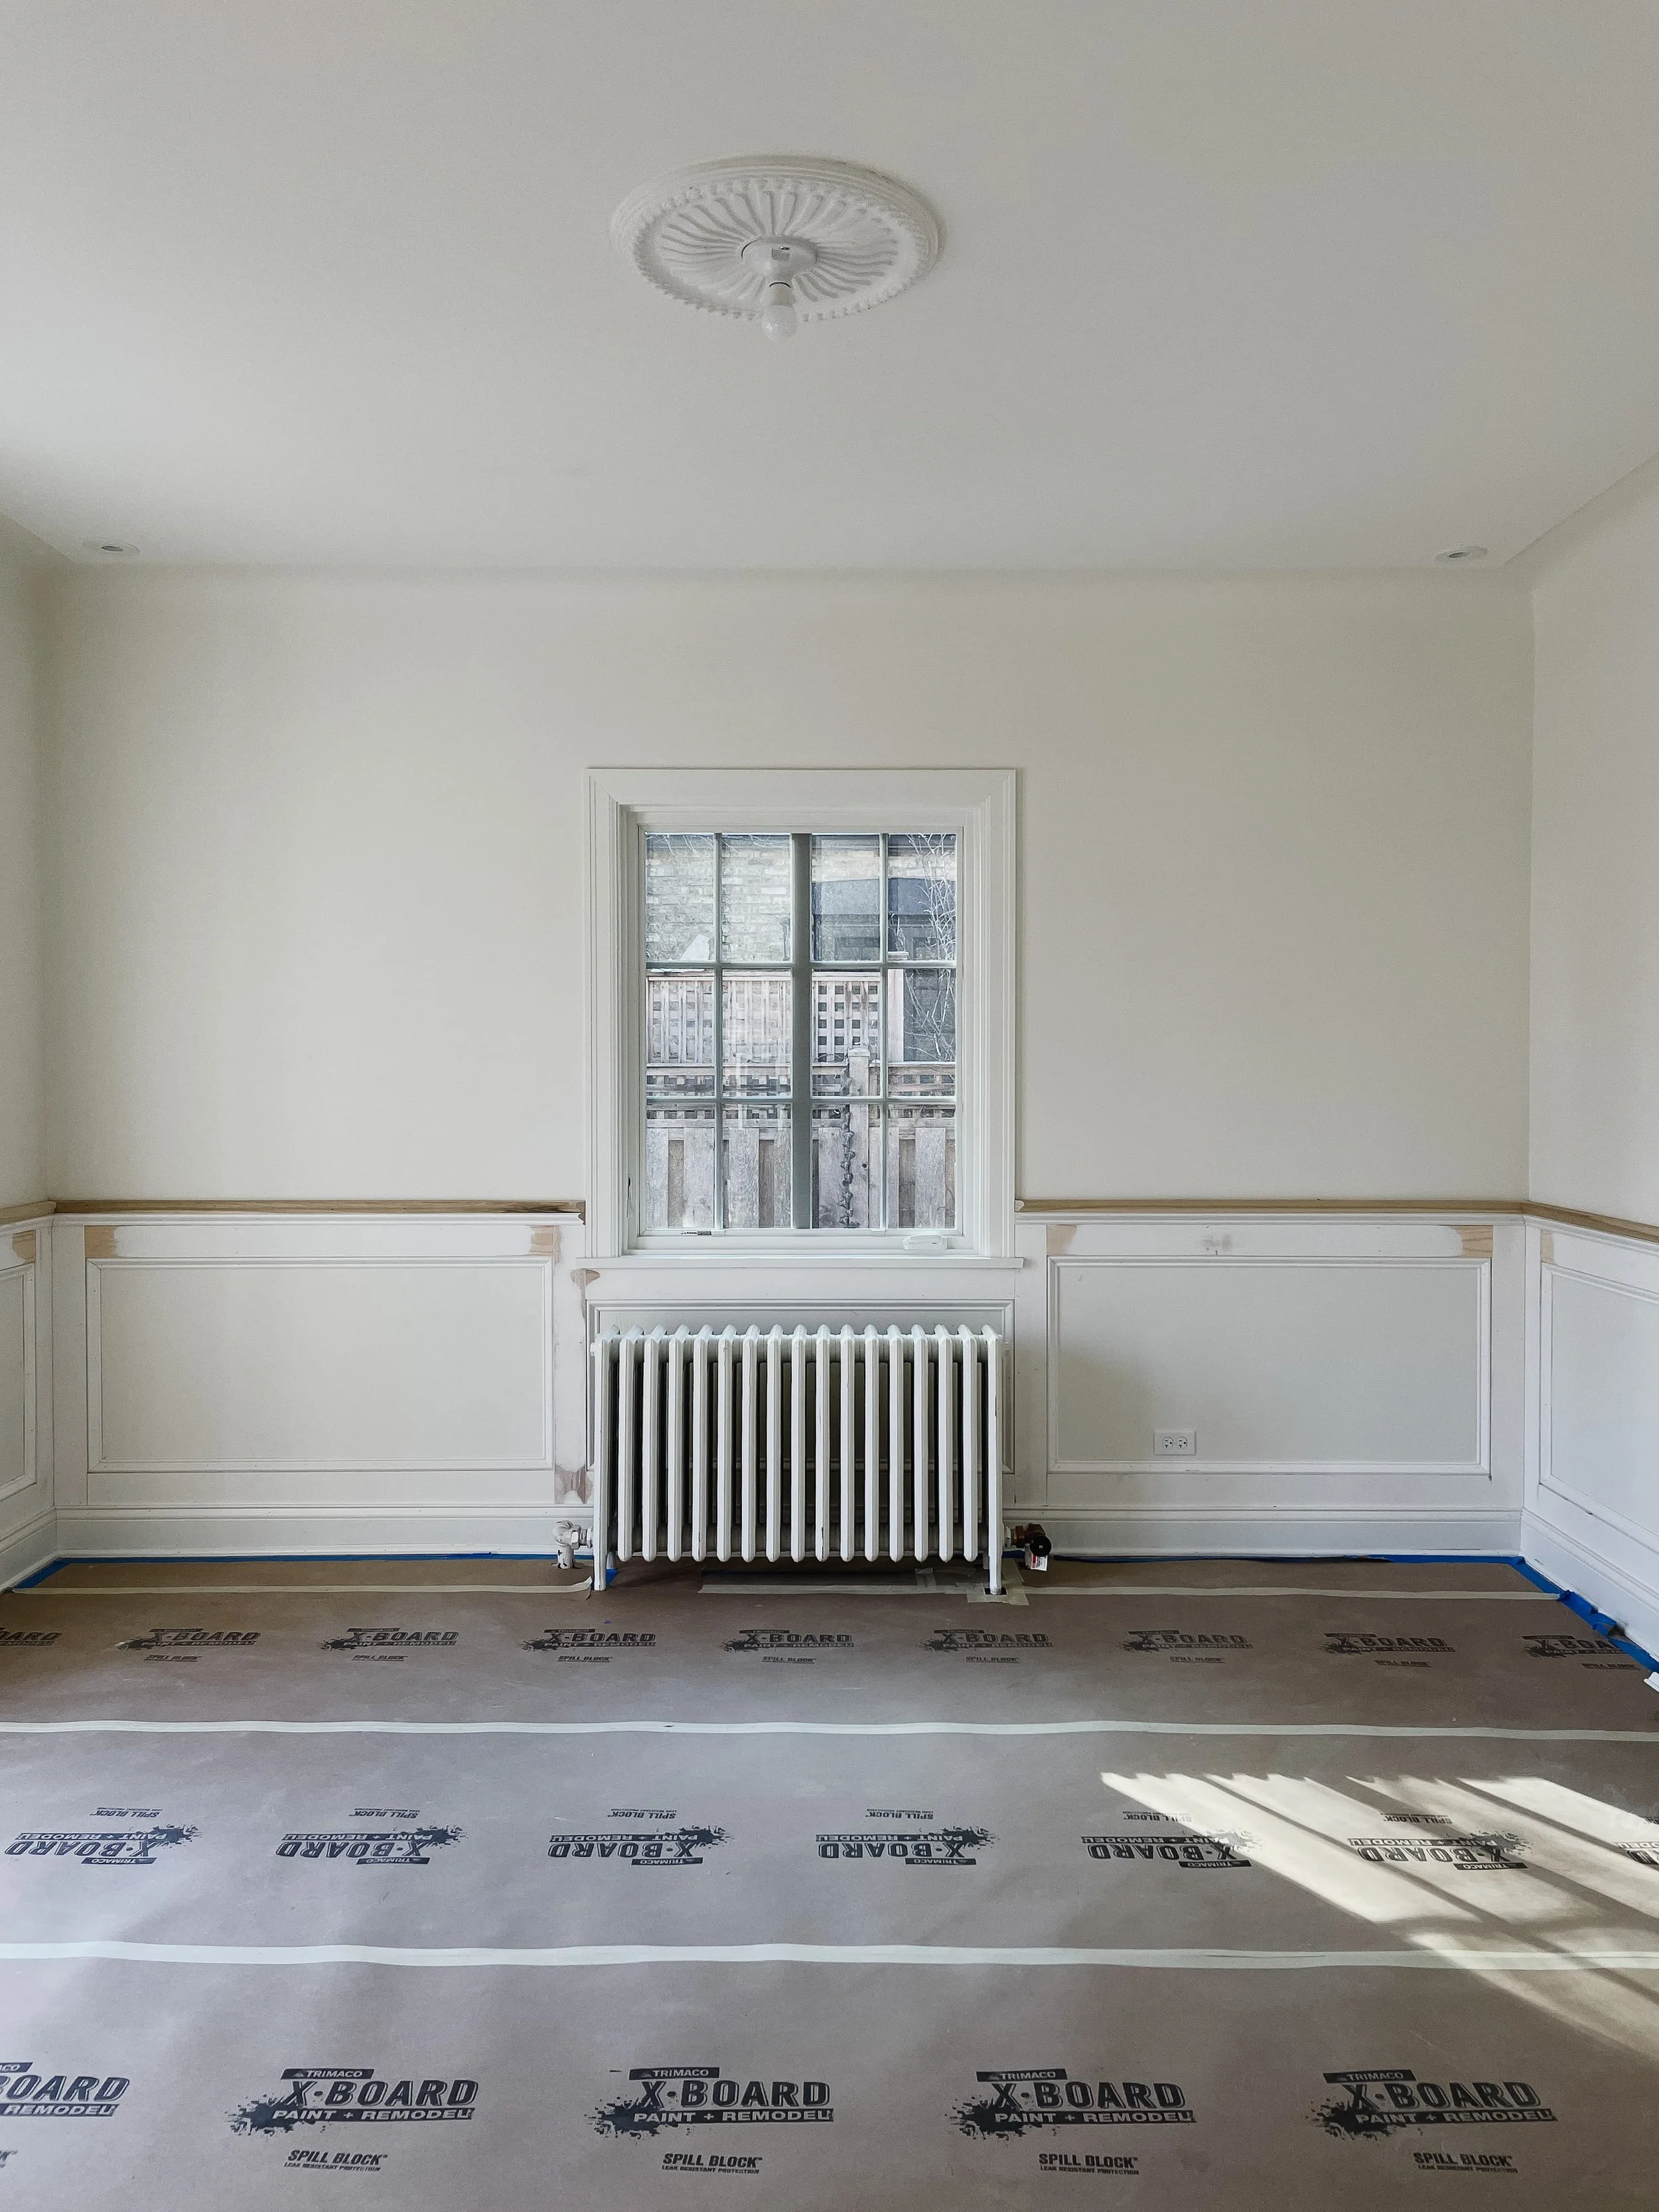
Once we got the spacing right, they took off all the baseboards and installed poplar boards to create the boxes. We had to take the baseboards off and install a poplar board behind them so that all the wainscoting trim would “stack” on top of one another nice and flush. If we didn’t, the trim boxes would have overlapped the baseboards by an inch — not a good look!
Next, they made the wainscoting boxes by nailing 1 x 6 poplar boards in a rectangle and lining the inside of each box with base cap edging. I really wanted a “chunky” chair rail so we created our own by stacking more base cap trim and stool moulding.


After that was done, the carpenters patched, sanded, and primed the whole thing and now it’s up to me to pick a paint color. What do we think of the end result?!
